Container Gardens
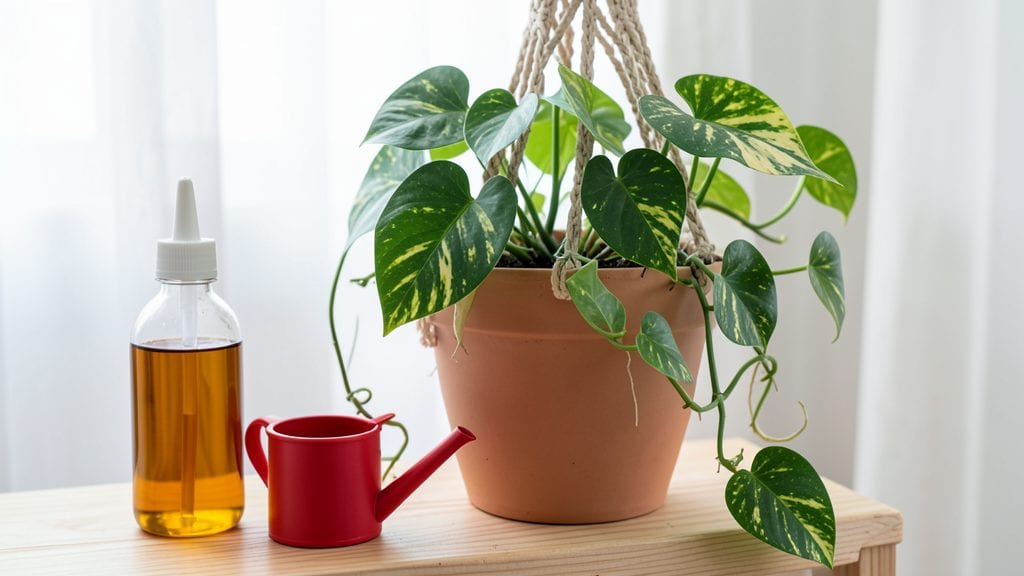
Feeding indoor plants isn't about drenching roots in chemicals—it's about giving them a gentle, consistent boost that mimics natural soil. 🌿 I learned the hard way that most houseplants prefer a diluted, frequent feed over heavy doses, and my spider plant now thrives thanks to this approach.
The right fertilizer makes all the difference between crisp, vibrant leaves and sad, yellowing fronds.
Start with a balanced, water-soluble fertilizer (like 10-10-10) diluted to half-strength, applied every 4-6 weeks during growing season. Organic options like fish emulsion or compost tea work too, just brew them weaker—think "light and leafy," not "heavy and harsh."
Most plants need less than you think, especially in small pots where roots can't absorb much at once.
You'll know you're doing it right when new growth appears within weeks, and older leaves stay a rich, healthy green. Overfeeding shows up as brown tips or crispy edges, while underfeeding means slow growth and pale stems.
The key is consistency: feed lightly, water well, and watch your plants respond like they're basking in a tropical rainforest.
Succulents and cacti are the exceptions—they barely need feeding at all, just a tiny bit of diluted fertilizer once a year. Ferns and calatheas, on the other hand, will reward you with lush fronds if you stick to the schedule.
Once you master this, your indoor jungle will look like it belongs in a botanical garden.
📚 In This Guide
- What you need
- Instructions
- Tips and common mistakes
- Wrapping up and next steps
What you need
- ● Organic compost or worm castings (1 part) – Boosts soil fertility with natural microbes. Look for sterilized options if repurposing store-bought soil.
- ● Perlite or vermiculite (½ part) – Improves drainage and aeration. Perlite is lighter; vermiculite retains moisture better.
- ● Slow-release fertilizer pellets (¼ part) – Granular options like Osmocote or Espoma work great. Check for balanced NPK (e.g., 10-10-10) for general use.
- ● Water (as needed) – For mixing into a damp (not soggy!) consistency.
- ● Mixing bowl or clean bucket – Large enough to combine all ingredients.
- ● Wooden spoon or small trowel – For gentle, even mixing.
- ○ Spray bottle (optional) – For hydrating dry mixes or top-dressing soil.
- ○ pH testing kit (optional but helpful) – Ensures your mix stays in the ideal 6.0–7.0 range for most plants.
- ○ Gloves (optional) – Protects hands from compost or gritty perlite.
How to feed indoor plants for healthy, vibrant growth
Here’s my go-to method for keeping houseplants thriving without overcomplicating things.
💧 Step 1: Understand Your Plant’s Hunger Signal
Most indoor plants need feeding every 4-6 weeks during active growth (spring through fall). Before you reach for fertilizer, check the soil—if it’s still moist, wait. Overfeeding is the #1 way to kill houseplants, and you’ll know it’s time when the top inch feels dry to the touch and leaves show subtle signs: dullness, slow growth, or yellowing between veins.
I always test with my finger: push it 1 inch deep. If it comes out clean, your plant’s ready for nutrients. If it’s damp, hold off another week. This simple habit prevents root burn and keeps plants happy without guesswork.
🌿 Step 2: Choose the Right Fertilizer Type
For most common houseplants (snake plants, pothos, ferns), a balanced liquid fertilizer (like 10-10-10 or 20-20-20) works best. Dilute it to half-strength—this prevents salt buildup, which can crisp leaf edges over time. I mix mine in a small watering can with room-temperature water to avoid shocking roots.
Succulents and cacti need something different: a low-nitrogen, high-phosphorus formula (like 5-10-5) applied every 6-8 weeks. These plants store water and nutrients, so less is always more. Never fertilize dormant plants (winter months) unless they’re actively growing—like a peace lily in December, which won’t thank you for winter feeding.
🪴 Step 3: Feed During Watering for Even Distribution
Always fertilize when you water, never on dry soil. Start by watering your plant thoroughly until water drains from the bottom. This preps the roots to absorb nutrients without burning. Then, pour the diluted fertilizer mix evenly over the soil surface, avoiding leaves to prevent chemical burns.
For potted plants, let the excess run through the drainage hole—this ensures nothing sits stagnant. I like to water again 10 minutes later with plain water to rinse away any residual fertilizer that might cling to soil particles. This flush step is especially critical for plants in decorative pots without drainage.
✂️ Step 4: Watch for Overfeeding Signs
Yellowing leaves, brown leaf tips, or a white crust on the soil surface are all red flags. If you see these, flush the soil immediately by watering with plain water until it runs clear from the drainage hole. This removes built-up salts and gives roots a chance to recover.
I’ve learned the hard way that some plants (like calatheas) are sensitive to fluoride in tap water—if your water has high fluoride levels, use filtered or distilled water for both feeding and watering. Always check the fertilizer label for warnings about your water source; it’s a detail that saves plants from unnecessary stress.
⏰ Step 5: Adjust for Seasonal Needs
In winter, most houseplants enter dormancy and need no fertilizer unless they’re flowering (like poinsettias or amaryllis). Cut back to every 8-12 weeks in late fall, then resume normal feeding in early spring when you see new growth. I mark my calendar with a note: "Feed when you see leaves unfurl"—that’s nature’s signal it’s time.
If your plant is recovering from stress (like after repotting or a pest infestation), hold off on fertilizing for 4-6 weeks. New roots need time to establish before they can handle nutrients. Patience here prevents setbacks—trust me, your plant will thank you with stronger, healthier foliage later.
Tips & tricks for feeding indoor plants
These simple strategies will help you avoid common mistakes and keep your houseplants thriving with minimal effort.
Soil Test First: Before feeding, always perform the finger test in Step 1—push your finger 1 inch deep. If it comes out clean, your plant’s ready for nutrients. I’ve ruined plants by overfeeding when the soil was still damp, so never skip this check. The top inch should feel dry to the touch, and you should see subtle signs like dull leaves or slowed growth that indicate it’s time to feed.
Dilution is Key: When mixing your balanced liquid fertilizer in Step 2, always dilute to half-strength—this prevents salt buildup that can crisp leaf edges. I use a small watering can to mix it with room-temperature water, which avoids shocking the roots. For succulents and cacti, you can use the full-strength low-nitrogen formula, but remember these plants need feeding every 6-8 weeks rather than every 4-6 weeks.
Flush After Feeding: That 10-minute flush step in Step 3 is crucial for plants in decorative pots without drainage. After applying fertilizer, water again with plain water to rinse away any residual fertilizer that might cling to soil particles. This simple step prevents salt buildup and keeps your plants healthy. I’ve seen white crusts form on soil surfaces when this step was skipped—it’s a clear sign of overfeeding.
Seasonal Adjustments: In Step 5, remember that most houseplants enter dormancy in winter and need no fertilizer unless they’re flowering. I mark my calendar with "Feed when you see leaves unfurl" as a reminder that spring growth is nature’s signal to start feeding again. For plants recovering from stress, hold off for 4-6 weeks to let new roots establish before introducing nutrients.
Pro Tips for Feeding Indoor Plants
- These simple strategies will help you avoid common mistakes and keep your houseplants thriving with minimal effort.
- Soil Test First: Before feeding, always perform the finger test in Step 1—push your finger 1 inch deep.
- Dilution is Key: When mixing your balanced liquid fertilizer in Step 2, always dilute to half-strength—this prevents salt buildup that can crisp leaf edges.
Frequently asked questions
Got questions about keeping your indoor plants thriving with the right nutrients? Here are some common concerns—and straightforward answers—to help you grow a lush, happy green space!
How often should I feed my indoor plants?
Most indoor plants thrive with a lightweight nutrient mix every 4–6 weeks during spring and summer. Reduce feeding in fall/winter (once every 8–12 weeks) since growth slows. Overfeeding can harm roots—always dilute fertilizers as directed!
Can I use regular soil or do I need special potting mix?
While regular garden soil works in a pinch, indoor plants need well-draining potting mix to prevent root rot. Look for blends labeled "for containers" or "lightweight mix." Add perlite or orchid bark (10–20%) to improve aeration—your plants will thank you!
What if my plant’s leaves turn yellow or brown after feeding?
Yellow/brown leaves often signal over-fertilization or salt buildup. Flush the soil by watering thoroughly 2–3 times with room-temperature water to rinse excess nutrients. Trim damaged leaves and reduce feeding frequency. If brown edges persist, check humidity—dry air can also cause stress!
Are homemade fertilizers (like coffee grounds or eggshells) safe for indoor plants?
Yes! Coffee grounds (used sparingly) add acidity and nitrogen, while crushed eggshells provide calcium. However, they’re not a complete nutrient source. Use them as supplements alongside a balanced fertilizer. Avoid overdoing it—too much can disrupt soil pH or cause mold.
When is the best time of day to feed my plants?
Feed your plants in the morning (between 8 AM–10 AM) when they’re actively photosynthesizing. This gives roots time to absorb nutrients before evening. Avoid feeding at night—it can encourage fungal growth in damp soil. Always water first to prevent root burn!
Wrapping up and next steps
Feeding your indoor plants doesn’t have to be complicated—just consistent! With the right lightweight nutrient mix, you’ll see vibrant growth and healthier foliage in no time. Remember, the key is balance: water wisely, fertilize thoughtfully, and observe your plants’ responses to fine-tune their care.
Ready to give your green babies the love they deserve? Start by testing one nutrient blend on a single plant, then expand as you gain confidence. Happy growing—your plants (and future jungle vibes 🌿) will thank you!