Pruning
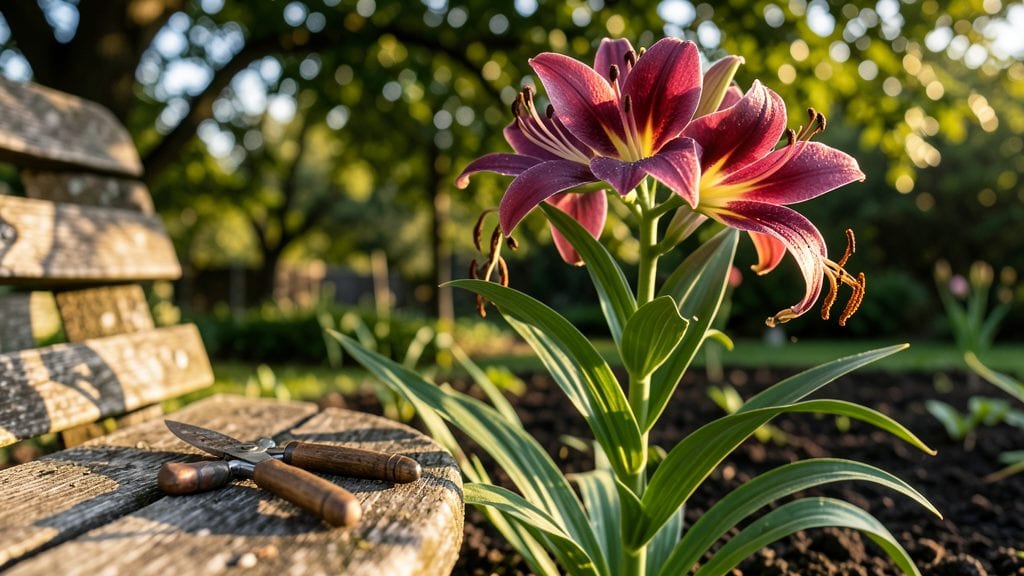
Trimming lily plants isn't just about cleaning up your garden—it's the secret to year-round blooms that keep coming back bigger and healthier than ever. 🌸 I've learned the hard way that skipping this step means fewer flowers and weaker plants, but once you master the timing and technique, your lilies will reward you with showstopping blooms for seasons to come.
The right tools and timing make all the difference. Grab a pair of sharp pruners (dull blades tear stems and invite disease) and work on a dry morning when the foliage isn't damp.
For daylilies, cut back spent blooms at the base, while true lilies need their foliage left until it yellows naturally—this feeds next year's growth. The key is precision: never cut more than 1/3 of the plant at once, or you'll shock it into dormancy too soon.
What you'll get from proper trimming is a plant that blooms longer, resists pests better, and recovers faster after winter. My own lilies now produce three waves of blooms instead of one, and the foliage stays lush and disease-free.
The best part? You'll spend less time deadheading and more time admiring your garden's centerpiece. Here's how to do it right every time.
This method works for both daylilies and true lilies, whether you're trimming in late summer to prep for fall or cleaning up in early spring. The same principles apply—just adjust the timing to match your climate. Let's get those blooms coming back stronger than ever.
📚 In This Guide
- What you need
- Instructions
- Tips and common mistakes
- Wrapping up and next steps
What you need
- ● Sharp pruning shears or bypass pruners – Must be clean and sterilized (1 pair). Avoid dull blades to prevent tearing stems.
- ● Garden gloves – Durable, cut-resistant (1 pair) to protect hands from thorns and sap.
- ● Disinfectant (70% isopropyl alcohol or bleach solution) – For sterilizing tools between cuts.
- ● Compost bin or bag – To collect trimmings for nutrient recycling.
- ○ Garden twine or rubber bands – Optional, for securing large stems post-trimming.
- ● Hand pruners or loppers – For thicker stems (if your lilies are mature).
- ● Plant food or fertilizer – A balanced 10-10-10 blend to revitalize lilies after trimming.
- ● Mulch (straw or shredded bark) – To protect the base after pruning.
- ● Spray bottle with water – For rinsing off sticky sap if needed.
Step-by-Step guide to trimming lily plants for healthy growth
Here’s how to keep your lilies blooming beautifully all season with simple, precise cuts.
✂️ Step 1: Remove Faded Blooms and Seed Pods
Once a lily flower fades, snip the spent bloom just above the first set of leaves or where the stem meets the main stalk. This prevents the plant from wasting energy on seed production, redirecting it to next year’s blooms. Use clean, sharp pruners to avoid tearing stems—dull blades crush tissue and invite disease.
Watch for seed pods forming after blooms. Remove them immediately, too—those little green bulbs sap strength from your plant. I always check my lilies weekly during peak bloom season to stay ahead of this. If you miss a few, don’t stress—just keep up with the rest.
✂️ Step 2: Cut Back Foliage After Blooming
After the blooming season ends, wait until the foliage yellows naturally before cutting it back. This ensures the plant completes its energy storage phase in the leaves. When the leaves turn yellow and droop, trim them back to about 6 inches above the ground. This prevents disease buildup in old foliage while still allowing the plant to store nutrients for next year.
Never cut healthy green leaves—this is a common mistake that starves the bulb. You’ll know the timing is right when the leaves look crispy and dry at the edges. I like to do this in early fall, just before the first frost hits my area.
✂️ Step 3: Prune Damaged or Diseased Stems
Inspect your lilies regularly for stems with brown spots, blackened tips, or mushy areas—these are signs of fungal or bacterial infections. Cut these stems back to healthy tissue immediately, using sterilized pruners (wipe them with rubbing alcohol between cuts). Never leave infected material in the garden; it spreads like wildfire.
If you find a stem with holes or chew marks from pests, remove it entirely. Healthy lilies rarely get pests, so this usually means something’s off in your garden’s ecosystem. I’ve found that keeping the area around lilies mulched and well-drained cuts down on these issues dramatically.
⏰ Step 4: Light Pruning for Airflow in Spring
In early spring, before new shoots appear, give your lilies a quick once-over. Remove any dead or crossing stems to improve airflow. Lilies need good circulation to prevent mildew and rot. If you notice stems growing too close together, thin them out so each bulb has space to breathe.
This is also the time to check for old flower stalks from last year. If any remain, cut them back to the ground. You’ll see new shoots emerging soon—these are your fresh growth for the season. A little spring cleanup ensures your lilies put all their energy into vibrant new blooms.
🌱 Step 5: Divide and Trim Overcrowded Clumps
Every 3-4 years, lilies form dense clumps that compete for nutrients. In early spring or fall, dig up the bulb cluster and separate it into smaller sections, each with 2-3 bulbs. Trim the roots back to 4-6 inches and remove any damaged or soft bulbs. Replant the divisions immediately in fresh soil with good drainage.
This rejuvenates your lilies and prevents weak blooms. I always replant divisions in the same spot or a slightly different location to avoid soil depletion. Water them in well and keep the soil moist until new growth appears. Your lilies will thank you with bigger, healthier blooms next season.
Tips & tricks for perfect lily plant trimming
A few simple tricks will help your lilies thrive and bloom beautifully year after year.
Timing is Everything: In Step 2, when you're waiting for foliage to yellow naturally, don't rush this process. The plant needs this time to store nutrients in the leaves for next season. I've seen people cut back too early, and their lilies never rebloomed as well. Look for leaves that are completely yellow and crispy at the edges—this means the plant has finished its energy storage.
Tool Prep Matters: Before you start Step 3, sterilize your pruners with rubbing alcohol. I learned this the hard way after transferring a fungal infection from one plant to another. Always clean your tools between cuts, especially when dealing with diseased stems. A quick wipe-down takes 10 seconds but prevents major problems down the road.
Root Trimming Technique: When you're dividing clumps in Step 5, trim roots to 4-6 inches but don't cut too close to the bulb itself. The roots need enough length to establish quickly after replanting. I've found that leaving slightly longer roots gives the new divisions a better chance to recover and establish strong growth for next season.
Seasonal Reminder: Mark your calendar for early spring and fall—the best times for Steps 4 and 5. In my experience, spring divisions establish better before the summer heat sets in, while fall divisions have time to settle before winter dormancy. Both seasons work, but timing makes all the difference in how well your lilies recover.
Pro Tips for Trimming Lily Plants
- A few simple tricks will help your lilies thrive and bloom beautifully year after year.
- Timing is Everything: In Step 2, when you're waiting for foliage to yellow naturally, don't rush this process.
- Tool Prep Matters: Before you start Step 3, sterilize your pruners with rubbing alcohol.
Frequently asked questions
Got questions about trimming your lilies? You’re not alone! Here are some of the most common concerns—and straightforward answers to keep your plants thriving.
When is the best time to trim lilies after they’ve bloomed?
Trim spent blooms right after they fade (usually 2–4 weeks post-bloom). This redirects energy to next year’s growth. Wait until foliage turns yellow or brown to prune leaves—never cut healthy green leaves, as they feed the bulb. For hardy lilies, a light trim in early fall also helps prep for winter.
Should I cut lilies back to the ground in fall?
No! Only remove dead or diseased foliage—never trim healthy leaves until they yellow naturally. Leaves photosynthesize until frost, storing nutrients in the bulb for spring blooms. Cutting too early weakens the plant. In mild climates, leave foliage until late winter.
Can I propagate lilies from trimmings?
Yes! Divide lilies in early spring or fall when they’re dormant. Gently dig up clumps, separate bulbs with roots, and replant. Avoid trimming for propagation—focus on bulb division instead. Scaling lilies (like Lilium candidum) can also be rooted in water or soil from stem cuttings.
What if my lilies look sad after trimming?
Over-trimming or poor timing can stress plants. Signs of trouble: wilting, yellowing leaves, or no new growth. Fix it by:
- Leaving at least 6–8 inches of stem after blooms fade.
- Watering deeply but not over-saturating the soil.
- Fertilizing lightly with balanced 10-10-10 in spring.
Do I need to sterilize tools between trims?
Absolutely!
Disinfect pruners with rubbing alcohol (70%+) or bleach solution (1:9 bleach:water) before and after trimming. This prevents spreading fungal diseases (like botrytis) or bacterial rot. Wipe tools dry to avoid rust.
Wrapping up and next steps
Trimming your lily plants doesn’t have to be intimidating—with the right tools, timing, and technique, you’ll keep them thriving and blooming beautifully year after year! 🌸 Whether you’re deadheading spent flowers, pruning leggy stems, or dividing overcrowded clumps, precision cuts are the key to healthy growth.
Now that you’re armed with expert tips, grab your shears and give your lilies the care they deserve.
Ready to take the next step? Plan your trimming schedule based on your climate and lily variety, and watch your garden flourish! For extra inspiration, explore seasonal lily care guides to keep your blooms stunning all year.