Flowers
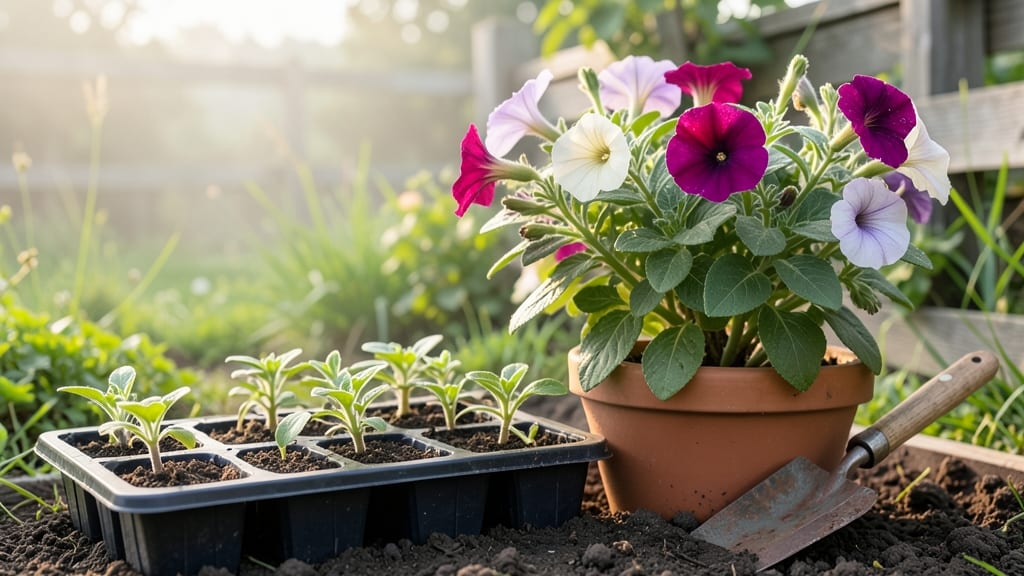
The right flower planting tools can turn a messy hole into a perfect home for your new plants. I learned that the hard way—my first attempt at transplanting petunias left roots tangled and soil clumping like wet sand.
A sturdy trowel and a few other basics make all the difference between frustration and foolproof results.
Start with a 5-inch stainless steel trowel for digging holes the exact size of your plant's root ball—no guessing. Add a pair of gardening gloves to protect your hands from thorns (trust me, roses have opinions) and a hand pruner for trimming any damaged roots before planting.
For larger projects, a transplant spade saves your back by cutting clean edges around root systems.
You'll end up with plants that settle in faster, bloom earlier, and stay healthier because their roots aren't disturbed. The tools themselves last years if you clean them after use and store them dry—rust is the enemy of longevity.
I still use my first trowel, now with a few battle scars from blackberry canes.
Works for everything from delicate annuals to stubborn perennials. Once you've got these basics, you're ready to tackle any planting project—whether it's a single container or a full border. Let's get those roots in the ground right.
📚 In This Guide
- What you need
- Instructions
- Tips and common mistakes
- Wrapping up and next steps
What you need
- ● Hand Trowel: A sturdy, 5-inch stainless steel trowel (e.g., Fiskars or Radiant brands) for precision digging and transplanting.
- ● Garden Fork: A heavy-duty, 4-tine fork (e.g., Bulldog or Spear & Jackson) for breaking up soil and aerating.
- ● Pruners (Bypass):strong> Sharp, ergonomic pruners (e.g., Felco or Gonicc) for trimming and shaping plants.
- ● Garden Gloves: A pair of durable, breathable gloves (e.g., Wolverine or Southfork) to protect your hands.
- ● Watering Can or Hose: A lightweight, 2-gallon can with a rose nozzle or a soaker hose for gentle watering.
- ● Measuring Tape or Ruler: A flexible, 5-foot tape for spacing plants accurately.
- ● Soil Amendment: Compost or peat moss (1–2 bags, depending on garden size) to enrich the soil.
- ● Mulch: Organic mulch (e.g., straw or wood chips) to retain moisture and suppress weeds.
- ● Transplant Spade: A long-handled, 12-inch spade for moving larger plants with ease.
- ● Kneeling Pad: A cushioned, ergonomic pad to protect your knees during long planting sessions.
- ● Garden Kneeler: A foldable, lightweight kneeler for added comfort.
- ● Soil pH Tester: A digital or liquid kit to check and adjust soil pH for optimal growth.
- ● Seedling Trays & Domes: Biodegradable trays and humidity domes for starting seeds indoors.
- ● Label Holders & Tags: Reusable or wooden tags to keep track of your plants.
Step-by-Step guide to using flower planting tools
Here’s how to select and use the right tools for digging holes, handling roots, and transplanting flowers with precision.
Choose the Right Tools for the Job
Start with a hand trowel for small flowers or delicate perennials—its narrow blade lets you dig precise holes without disturbing nearby roots. For larger shrubs or bulbs, switch to a garden shovel or digging spade, which cuts through soil more efficiently. I always pair these with a pruning shears to trim dead foliage before transplanting, keeping the plant healthy and reducing stress.
Don’t overlook a garden fork for breaking up compacted soil, especially in clay-heavy areas. Its tines loosen roots gently, making it easier to lift plants without tearing them. If you’re working in tight spaces, a transplanting spade with a sharp edge gives you clean cuts for moving established plants.
Dig Holes with the Correct Depth and Width
Measure the hole’s depth by matching the root ball’s height—it should sit 1 inch deeper than the plant’s original soil line to encourage stability. For most flowers, the hole should be twice as wide as the root ball to give roots room to spread. Use your garden spade to slice vertically into the soil, then rock the blade back and forth to widen the space.
Loosen the sides of the hole with your fingers or a hand fork to prevent compacting soil around the roots later. This step is critical: packed soil restricts growth and can suffocate roots. If the soil is dry, water the hole lightly before planting to help roots settle into moist earth.
Lift and Transplant Flowers Carefully
Grasp the base of the plant with one hand while using a transplanting spade to slide under the root ball. Lift gently to avoid breaking stems or tearing roots. If the plant is root-bound, tease the edges of the root ball with your fingers to encourage outward growth. For delicate flowers like impatiens, I wrap the root ball in a burlap sack to protect it during transport.
Lower the plant into the hole, ensuring the top of the root ball sits at the same level as the surrounding soil. Fill the gap with the amended soil you removed earlier, pressing lightly around the edges to eliminate air pockets. Water thoroughly to help soil settle and remove any tools that might have touched the plant.
Mulch and Maintain for Long-Term Success
Spread 2-3 inches of mulch around the base of the plant, keeping it 3 inches away from the stem to prevent rot. Mulch retains moisture, regulates soil temperature, and suppresses weeds—all of which reduce transplant shock. Use a garden rake to spread it evenly, avoiding piles that can smother roots.
Water deeply once a week for the first month, checking that the soil stays moist but not soggy. Avoid overhead watering, which can spread disease. If leaves yellow or wilt, it’s often a sign of overwatering or poor drainage. Adjust your care routine based on the plant’s response, and you’ll see strong, thriving blooms in no time.
Clean and Store Tools for Next Use
Rinse tools with soapy water immediately after use to remove soil and sap, which can corrode metal blades. Scrub stubborn residue with a stiff brush, then dry thoroughly to prevent rust. Store tools in a dry, shaded area—direct sunlight can warp wooden handles over time, while damp conditions encourage mold.
Sharpen blades annually with a file to maintain clean cuts, and apply a light coat of mineral oil to metal tools to prolong their life. A well-maintained set of tools makes every planting season easier, so treat them like an extension of your hands.
Tips & tricks for precision flower planting
Mastering the right techniques with your flower planting tools makes all the difference between struggling and thriving gardens. Here's what I've learned after years of trial and error.
Tool Selection Strategy: Don't overlook the importance of matching tools to plant size. For delicate annuals like petunias, your hand trowel is perfect for its precision, while larger perennials like daylilies need the leverage of a garden shovel. I keep a small bucket nearby to collect the soil I remove—this prevents waste and makes backfilling easier. The key is having the right tool for each stage of the process.
Hole Preparation Technique: When creating holes twice as wide as the root ball in Step 2, use your garden spade to make vertical cuts first, then rock it back and forth to widen. This creates clean edges that prevent soil from collapsing into the hole. For clay-heavy soil, I recommend using a garden fork first to break up compaction before digging. The extra effort pays off with healthier root development.
Transplanting Without Damage: In Step 3, the most common mistake I see is gripping plants too tightly by the stems. Always support the root ball with your other hand when lifting, and avoid wrapping burlap around delicate stems—it can restrict growth. For root-bound plants, gently separate the outer roots with your fingers before planting to encourage outward growth. This simple step can double your plant's survival rate.
Long-Term Tool Care: After using your tools in Step 5, I've found that immediately wiping them down with a damp cloth removes 90% of soil residue before it dries. For stubborn sap or dried mud, keep a small bottle of soapy water and a stiff brush handy. Store tools with handles pointing upward to prevent water pooling in metal blades, which causes rust. This simple routine extends tool life by years.
Pro Tips for Flower Planting Tools
- Mastering the right techniques with your flower planting tools makes all the difference between struggling and thrivi...
- Tool Selection Strategy: Don't overlook the importance of matching tools to plant size. For delicate annuals like pet...
- Hole Preparation Technique: When creating holes twice as wide as the root ball in Step 2, use your garden spade to ma...
Frequently asked questions
Got questions about flower planting tools?
You’re not alone! Whether you’re a beginner or a seasoned gardener, these common queries can help you dig deeper—literally. Here’s what you need to know before grabbing your trowel.
What are the most essential tools for planting flowers?
Start with a hand trowel (for small holes), a garden spade (for larger transplanting), and a pruning shears (for trimming). Don’t forget gloves to protect your hands and a watering can or hose with a gentle nozzle. For precision, a bulb planter is great for delicate roots!
When is the best time to use planting tools?
Timing depends on your climate and flowers! For spring-bloomers, plant after the last frost when soil is workable (not soggy). Fall plantings (like bulbs) thrive in cool soil, while perennials often prefer early spring. Always check seed packets or plant tags for specific guidance—tools are ready year-round, but soil conditions matter most!
Are expensive tools worth it for beginners?
Not necessarily! Start with affordable, durable basics like stainless-steel trowels and ergonomic gloves. Invest in higher-end tools (e.g., ergonomic handles or self-watering planters) once you’ve mastered the basics. Many garden centers rent tools too—great for one-time projects like large-scale transplanting.
How do I fix a bent or dull planting tool?
For bent trowels or spades, gently hammer the metal back into shape over a sturdy surface (like an anvil or thick wood). Dull blades? Sharpen with a file or whetstone, focusing on the cutting edge. Store tools dry and upright to prevent rust. Pro tip: Apply a thin coat of mineral oil after cleaning to extend their life!
Can I use kitchen tools (like forks or knives) instead?
In a pinch, yes! A fork can loosen soil, and a butter knife works for small seeds—but they’re not ideal. Kitchen tools lack the precision and durability of garden-specific tools. Plus, they’re harder to clean and may rust faster. Save them for the kitchen and invest in proper gear for your garden!
Wrapping up and next steps
Choosing the right flower planting tools can transform your gardening experience—making tasks easier, more efficient, and even more enjoyable! 🌸 From trowels and pruners to ergonomic gloves, each tool plays a vital role in nurturing your garden with precision.
Whether you're a beginner or a seasoned green thumb, investing in quality tools ensures healthier plants and less strain on your hands.
Now that you’re armed with the knowledge, take the next step: visit your local nursery or browse online stores to pick out your essentials. Start small, gather what you need, and watch your garden flourish with every careful dig and plant! Happy gardening! 🌱