Pruning
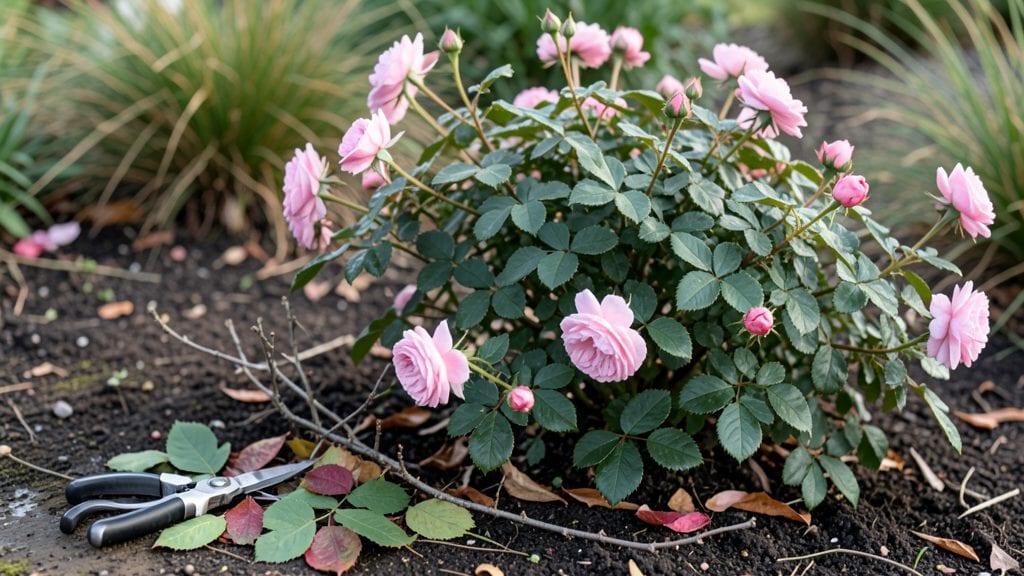
The right way to prune a plant can turn a struggling specimen into a lush, vigorous showstopper. Pruning isn't just about trimming—it's about guiding growth, boosting blooms, and preventing disease before it starts. I've pruned everything from overgrown shrubs to finicky roses, and the difference is night-and-day.
The key lies in three precision techniques: shaping for structure, thinning for airflow, and rejuvenating for new growth. You don't need fancy tools—just sharp shears, gloves, and a clear plan.
Most people over-prune or cut at the wrong time, but I'll show you how to do it right, even if you've killed plants before.
By the end, your plants will look fuller, produce more flowers, and stay healthier all season. The secret? Cutting at the right angle, removing only what's necessary, and timing your prunes to match the plant's natural cycle. Let's get those shears ready!
Works for shrubs, trees, flowers, and even houseplants—just adjust the timing and approach. Whether you're tackling a hedge or a single rosebush, these techniques will give you confidence every time you reach for the pruners.
📚 In This Guide
- What you need
- Instructions
- Tips and common mistakes
- Wrapping up and next steps
What you need
- ● Bypass pruners: Sharp, clean pair (for stems Example: Felco F-2 or Corona 3-in-1.
- ● Hand pruners: For smaller branches (up to ½ inch). Tip: Choose ergonomic grips to avoid hand fatigue!
- ● Loppers: For thicker branches (½–1.5 inches). Look for: Ratchet-style for extra leverage.
- ● Pruning saw: Heavy-duty (1.5+ inches). Pro tip: Test sharpness on a scrap branch first!
- ● Rubbing alcohol (70%+) or bleach solution: 1 part bleach to 9 parts water (for sterilizing tools).
- ● Disposable gloves: Nitrile or latex (to protect from sap/irritants).
- ○ Sharpie or plant marker: For labeling cuts (optional but helpful for tracking!).
- ● Pruning sealant: Wound dressing (like Tanglefoot) for large cuts on trees/shrubs.
- ● Hose or spray bottle: To clean tools mid-prune or rinse sap off hands.
- ● Bucket or tarp: For collecting clippings (compost them later!).
- ● Ladder or step stool: For hard-to-reach branches (safety first!).
- ● Plant growth hormone: Root stimulator (like Dip ‘N Grow) for cuttings you plan to propagate.
Instructions for pruning a plant: three precision techniques
Here’s how I prune plants year-round to keep them healthy, productive, and looking their best.
Assess the Plant and Choose the Right Technique
Start by examining the plant to determine its needs. Look for overgrowth, dead branches, or areas where new growth is needed. I always check for signs of disease or pests first—anything damaged or discolored should be removed immediately. For flowering plants, I wait until after they bloom unless deadheading (removing spent flowers) is needed to encourage more blooms.
There are three main techniques: thinning, heading back, and shaping. Thinning involves removing entire branches to improve airflow, heading back cuts back new growth to encourage bushier plants, and shaping is for controlling the plant’s form. I use pruning shears for most cuts, but for thicker branches, I grab my pruning saw. Never use scissors or garden shears—they can damage the plant.
Use the Right Tools for Clean Cuts
Sharp, clean tools make all the difference. Before you start, disinfect your pruning shears or saw with rubbing alcohol to prevent spreading disease. I always check the blades for dullness—dull tools crush stems instead of making clean cuts, which can damage the plant and invite infections. For small branches, I use my pruning shears, while thicker stems require the pruning saw.
Make cuts at a 45-degree angle just above a leaf node or bud, about ¼ inch above where the branch meets the main stem. This angle helps water run off instead of pooling and rotting the wound. Avoid leaving stubs—they can rot and attract pests. If you’re unsure where to cut, look for the outward-facing bud to guide you. This ensures new growth will face outward, keeping the plant full and balanced.
Apply the Selected Technique with Purpose
For thinning, focus on removing branches that cross or rub against each other, as well as those growing inward. This opens up the plant’s center, allowing better airflow and sunlight penetration. I start at the bottom and work my way up, removing about 20-30% of the plant’s foliage in one session to avoid shocking it. Watch for new shoots emerging from the base—these are often the strongest and should be preserved.
When heading back, cut just above a leaf node or bud to encourage new growth. This technique works well for shrubs and perennials that need to be rejuvenated. I usually cut back by ⅓ to ⅕ of the plant’s height, depending on how leggy it looks. For shaping, use gentle cuts to maintain the plant’s natural form or guide it into a desired shape, like a hedge or topiary. Always step back occasionally to check your progress—it’s easier to see the big picture from a distance.
Clean Up and Monitor the Plant
After pruning, remove all fallen leaves and clippings from the area to reduce the risk of disease. I like to compost healthy trimmings, but diseased or pest-infested ones go straight into the trash. Water the plant deeply right after pruning to help it recover, especially if you’ve made significant cuts. This is also a good time to apply a balanced fertilizer to support new growth.
Keep an eye on the plant in the days and weeks following pruning. You’ll notice new shoots emerging from the cut areas within 1-2 weeks, signaling that the plant is responding well. If you see yellowing leaves or wilting, it might be stressed—reduce watering slightly and avoid further pruning until it recovers. Pruning is a conversation with your plant, so pay attention to how it reacts and adjust as needed.
Tips & tricks for pruning a plant like a pro
Pruning isn't just about cutting—it's about communicating with your plant. Here are the key insights I've learned after years of trial and error that'll help you prune with confidence and precision.
Tool Prep is Non-Negotiable: Before you make a single cut, disinfect your pruning tools with rubbing alcohol. I've seen diseases spread from plant to plant through contaminated shears—it only takes seconds to prevent this. Also, test your tool sharpness by cutting a piece of paper. If it tears instead of slices cleanly, your tools need sharpening. A dull blade crushes stems, creating larger wounds that heal poorly and invite pests.
Angle and Position Matter More Than You Think: When making your 45-degree angle cut in Step 2, imagine water running off a roof. That's exactly what you want—the angle should direct water away from the cut to prevent rot. For the outward-facing bud trick, think of it as planting a seed for future growth. The bud you leave behind will grow outward, not inward, creating a fuller, more balanced plant. If you're unsure, look for the tiny bump where leaves meet the stem—that's your bud.
Thinning is Your Best Friend for Airflow: In Step 3, when you're removing 20-30% of foliage for thinning, focus on creating an open center. I like to visualize sunlight streaming through the plant's canopy. Remove branches that grow inward or cross others first—these are the biggest airflow blockers. For large shrubs, work in sections to avoid overwhelming yourself, and always step back to check your progress from a distance.
Post-Pruning Care is Where Results Happen: After you've finished pruning, don't just walk away. Water deeply right after to help the plant recover, especially if you made significant cuts. I've found that applying a balanced fertilizer at this point gives plants the nutrients they need to bounce back quickly. And here's the thing about those new shoots you'll see in 1-2 weeks—don't be tempted to prune them again immediately. Let the plant show you what it wants to grow first.
Pro Tips for Prune A Plant
- Pruning isn't just about cutting—it's about communicating with your plant.
- Tool Prep is Non-Negotiable: Before you make a single cut, disinfect your pruning tools with rubbing alcohol.
- Angle and Position Matter More Than You Think: When making your 45-degree angle cut in Step 2, imagine water running off a roof.
Frequently asked questions
Got questions about pruning? You’re not alone—every gardener starts somewhere! Here are answers to the most common pruning puzzles, so you can confidently shape your plants like a pro.
When is the best time to prune my plant?
The ideal timing depends on your plant! Deciduous trees and shrubs thrive when pruned in late winter or early spring (before new growth starts). Evergreens can be pruned in early spring or late fall, while flowering plants should be trimmed right after blooming to encourage next year’s flowers. Always avoid pruning during extreme heat or cold.
Can I prune a plant too much?
Over-pruning can stress your plant, weaken its structure, or even kill it. Stick to the “one-third rule”: Never remove more than 1/3 of the plant’s foliage or branches in a single session. If you’re unsure, start small and observe how your plant responds before cutting more.
What if my cuts look messy or uneven?
Don’t worry—uneven cuts aren’t always a disaster! For large branches, make clean cuts just outside the branch collar (the swollen area where the branch meets the stem). For smaller trims, angled cuts (about ¼” above a leaf node) help water run off. If your plant is young or resilient, it’ll often recover beautifully. For older or ornamental plants, invest in sharp tools for precision.
Is there a way to prune without tools?
Yes! For small plants or delicate trims, you can use your hands to pinch off new growth or break off dead leaves. Just be gentle—snap or twist stems away from the plant to avoid damaging the bark. This method works great for herbs, houseplants, or young seedlings, but larger branches will still need shears or a saw.
My plant is bleeding sap after pruning—is that normal?
Some plants (like maples, birches, or elms) ooze sap after pruning, but it’s usually harmless. The sap will stop flowing in a few days to weeks. To minimize mess, prune on a dry day and avoid cutting into wet wood. If you notice large amounts of sap or oozing from multiple spots, it could signal disease—inspect the area and treat if needed.
Wrapping up and next steps
Pruning isn’t just about trimming—it’s about revitalizing your plants for long-term health and beauty! 🌿 Whether you’re shaping a shrub, rejuvenating a tree, or harvesting herbs, these three precision techniques give you the confidence to prune like a pro. Remember: sharp tools, clean cuts, and timing are your best friends.
Now that you’re armed with knowledge, roll up your sleeves!
Start with the easiest plant on your list—maybe that overgrown basil or a leggy fern—and practice your new skills. Before you know it, you’ll be pruning with precision, and your garden (or windowsill) will thank you with lush, vibrant growth all year round. Happy pruning! ✂️🌱