Planting
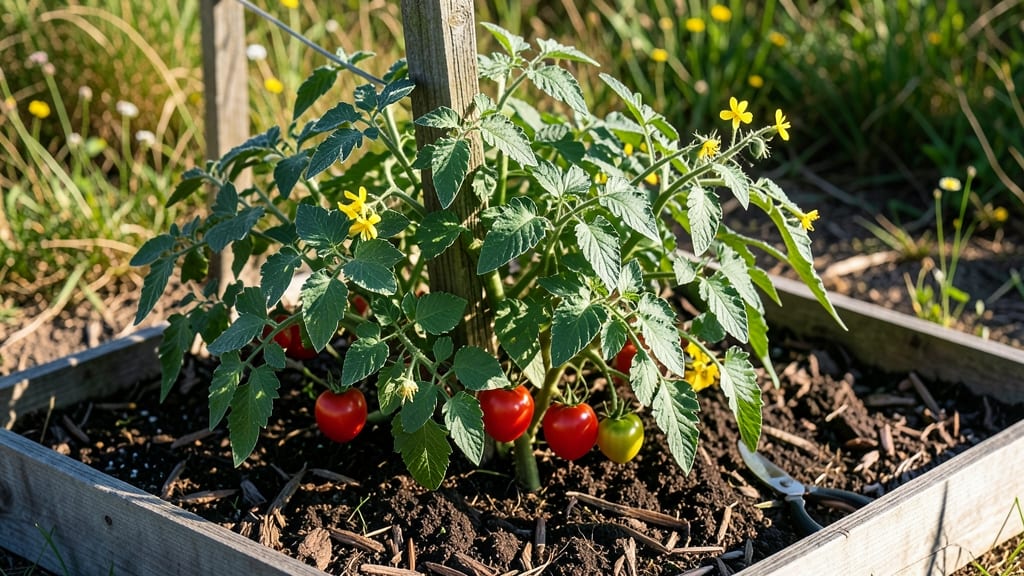
Your wilting tomato vines don’t have to mean game over. ✨ I’ve nursed back more collapsed plants than I can count—some with just a few minutes of attention—and the fixes are simpler than you’d think, especially when you know what to check first.
The real culprit is almost never what you assume: blight or pests get all the blame, but 90% of the time, it’s one of three sneaky issues—water stress, root-bound roots, or hidden sunscald.
A quick soil check, a closer look at the stems, and adjusting just one thing often brings them roaring back within 24-48 hours.
By the end of these three steps, your plants will be standing tall again, with new growth pushing out within a week. The best part? These fixes work for both container tomatoes and in-ground plants, and you won’t need fancy tools—just what’s already in your shed.
Here’s the kicker: once you spot the early warning signs, you’ll catch problems before they spiral. No more panicked Google searches at 9 PM. Let’s turn those limp vines into productive plants again.
Root Causes Behind Wilting Tomato Vines
When your tomato plants start looking sad—droopy leaves, yellowing foliage, or stunted growth—it’s often a cry for help from the roots (or something above them). Understanding why your plants are struggling is half the battle in getting them back to thriving.
Below, we break down the most common culprits, explained in simple terms with science-backed insights so you can diagnose and act fast.
Tomatoes are thirsty, but too much love can drown them. Overwatering—especially in containers or heavy clay soil—leads to root suffocation because roots need oxygen to absorb nutrients. When soil stays soggy for days, roots rot, cutting off water and nutrient flow to the plant.
This triggers wilting as the plant can’t keep up with demand.
- Signs: Yellowing lower leaves, mushy stems at the base, or soil that smells like wet socks.
- Why it happens:
- Containers without drainage holes trap excess water.
- Compacted or clay-heavy soil repels water, creating waterlogged pockets.
- Frequent light waterings (e.g., daily sprinkles) keep the topsoil wet but don’t let roots dry out between waterings.
- Actionable fix: Let the top 1–2 inches of soil dry out before watering again. Use raised beds or mix in perlite/sand to improve drainage.
Tomatoes are tropical plants at heart—they hate temperature swings. When daytime temps soar above 90°F (32°C) or nights dip below 50°F (10°C), their metabolic processes slow down or shut down.
Heat stress causes leaf scorch (brown edges) and wilting, while cold stress leads to cell damage, making it hard for plants to take up water.
- Signs: Leaves curling upward (heat) or drooping limp (cold), especially in the morning or late afternoon.
- Why it happens:
- Stagnant air in greenhouses or plastic tunnels traps heat.
- Late spring frosts or early fall chills catch plants off guard.
- Reflective surfaces (like pavement) bake nearby plants.
- Actionable fix:
- Provide afternoon shade with row covers or shade cloth (30–50%).
- Mulch heavily with straw to keep roots cool.
- Move potted tomatoes to a sheltered spot if temps drop.
Hidden invaders can wreak havoc on tomato roots and stems faster than you think. Root-knot nematodes, aphids, or fungal pathogens like early blight chew on roots or block vascular pathways, starving the plant of water and nutrients.
Even spider mites on leaves can stress the plant enough to cause wilting.
- Signs:
- Stunted growth with no visible damage (nematodes).
- Sticky residue on leaves (aphids) or webbing (spider mites).
- Dark spots on stems/leaves (fungal disease).
- Why it happens:
- Poor soil hygiene (reusing containers or garden beds without sterilization).
- Overhead watering spreads fungal spores.
- Weak plants (from poor soil or drought) attract pests.
- Actionable fix:
- Inspect roots when transplanting—look for galls or slimy trails.
- Spray neem oil or insecticidal soap for soft-bodied pests.
- Rotate crops yearly and solarize soil in late summer to kill pathogens.
Wilting can also be a hunger signal. Tomatoes need a balanced diet of nitrogen (N), phosphorus (P), and potassium (K), along with micronutrients like calcium and magnesium. Without them, roots weaken, leaves yellow (chlorosis), and the plant struggles to transport water.
| Deficiency | Symptoms | Why It Happens |
|---|---|---|
| Nitrogen (N) | Pale yellow leaves (oldest first), stunted growth. | Poor soil, overwatering leaches N, or synthetic fertilizers lack organic matter. |
| Potassium (K) | Yellowing leaf edges ("scorch"), weak stems. | Sandy soil or over-fertilizing with N/P-heavy mixes (like lawn fertilizer). |
| Calcium (Ca) | Blossom-end rot (black spots on fruit) + wilting. | pH >7.0 (alkaline soil) or uneven watering. |
Actionable fix: Test your soil (kits are cheap!) and amend with compost, banana peels (for K), or crushed eggshells (for Ca). Avoid synthetic fertilizers—opt for slow-release organic options like worm castings.
💡 Pro Tip: If your tomato’s wilting is sudden (hours/days), check the roots first—overwatering or pests are likely. If it’s gradual (weeks), soil nutrients or heat stress are probably to blame. Act fast, and your plants will bounce back!
Quick Fixes for Wilting Tomatoes
Reviving your tomato plants doesn’t have to be a guessing game. Whether your vines are drooping from stress, disease, or environmental factors, these targeted solutions will help you turn things around—fast.
Below, we’ve mapped the most common causes to practical fixes, complete with prevention tips to keep your plants thriving long-term.
Symptoms: Yellowing leaves, mushy stems, or soil that stays soggy for days.
How to Revive: 🔥 Step 1: Pause Watering Immediately Stop adding water until the top 2–3 inches of soil feel dry to the touch. Overwatering suffocates roots by cutting off oxygen, leading to rot.
🍳 Step 2: Improve Soil Drainage If your container or garden bed holds too much moisture: - For pots: Add a layer of perlite, coarse sand, or small gravel to the bottom before repotting. - For in-ground plants: Mix in compost or aged manure to loosen heavy clay soil.
Avoid compacting it further.
👨🍳 Step 3: Prune Damaged Roots (If Needed) Gently remove the plant from the soil and trim any black, mushy roots with sterilized scissors. Replant in fresh, well-draining soil.
Prevention Tips: ✨ Water deeply but infrequently—aim for 1–2 inches per week (adjust for rain). 🌡️ Use raised beds or containers if your native soil drains poorly. 🎯 Check pots for drainage holes—no holes = no escape for excess water.
Symptoms: Crispy leaf edges, wilting that worsens in the afternoon, or soil pulling away from pot sides.
How to Revive: 🔥 Step 1: Water Slowly and Deeply Use a watering can or hose with a gentle stream to soak the soil until water runs out the drainage holes (for pots). For in-ground plants, water at the base until moisture reaches 6–8 inches down.
🍳 Step 2: Mulch to Retain Moisture Spread 2–3 inches of organic mulch (straw, wood chips, or shredded leaves) around the base of the plant. This locks in moisture and protects roots from extreme heat.
👨🍳 Step 3: Provide Shade During Peaks If temperatures exceed 90°F (32°C), shield plants with shade cloth (30–50% coverage) for a few hours daily. Avoid plastic sheets—they trap heat.
Prevention Tips: 💡 Water in the early morning to reduce evaporation. 🔥 Group plants together to create a microclimate with shared humidity. ✨ Choose heat-tolerant varieties like ‘Solar Fire’ or ‘Heatmaster’ for future seasons.
Symptoms: Sticky residue on leaves, tiny webs, or leaves curling upward.
How to Revive: 🔥 Step 1: Blast Off Pests Spray plants with a strong stream of water to dislodge pests. Repeat daily for 3–5 days.
🍳 Step 2: Apply Natural Repellents Mix 1 tsp neem oil + 1 tsp dish soap + 1 quart water in a spray bottle. Test on a small leaf first, then spray undersides of leaves where pests hide. Reapply every 5–7 days.
👨🍳 Step 3: Introduce Beneficial Insects Release ladybugs or lacewings (available at garden centers) to prey on aphids naturally.
Prevention Tips: 🌡️ Inspect new plants before bringing them home—quarantine for 48 hours. 🎯 Encourage predatory insects by planting marigolds or basil nearby. 💡 Remove infected leaves immediately to stop the spread.
Symptoms: Brown spots with yellow halos, white powdery coatings, or wilting despite moist soil.
How to Revive: 🔥 Step 1: Prune and Remove Infected Parts Cut off all diseased leaves or stems with sterilized pruners. Dispose of them in the trash (not compost).
🍳 Step 2: Apply Fungicide Use a copper-based fungicide or a homemade spray of 1 tbsp baking soda + 1 quart water + a few drops of soap. Spray thoroughly, including undersides of leaves.
👨🍳 Step 3: Improve Airflow Space plants 18–24 inches apart and stake them to prevent leaves from touching soil or each other.
Prevention Tips: ⏰ Water at soil level (not overhead) to keep leaves dry. 🌡️ Avoid watering late in the day—wet leaves overnight invite fungi. ✨ Rotate crops yearly to prevent soil-borne diseases from recurring.
Symptoms: Yellowing between leaf veins (nitrogen), purple stems (phosphorus), or brown leaf edges (potassium).
How to Revive: 🔥 Step 1: Test Your Soil Use a DIY soil test kit (available at garden centers) to identify deficiencies. Common issues:
- Nitrogen: Pale green leaves.
- Potassium: Weak stems, poor fruit set.
- Magnesium: Yellow patches between veins.
🍳 Step 2: Fertilize Targeted
- For nitrogen: Apply compost, fish emulsion, or a balanced 10-10-10 fertilizer.
- For potassium: Use wood ash or a tomato-specific fertilizer (high in potassium).
- For magnesium: Sprinkle Epsom salt (1 tbsp per gallon of water) every 2 weeks.
👨🍳 Step 3: Feed the Soil, Not Just the Plant Mix worm castings or aged manure into the top 6 inches of soil to improve long-term nutrition.
Prevention Tips: 💡 Side-dress plants with compost halfway through the growing season. 🎯 Avoid over-fertilizing—too much salt can burn roots. 🔥 Rotate crops to prevent nutrient depletion in the same soil.
Symptoms: Wilting within days of repotting, stunted growth, or roots circling the pot.
How to Revive: 🔥 Step 1: Check the Roots Gently remove the plant and inspect roots. If they’re circling tightly or matted, it’s root-bound.
🍳 Step 2: Repot with Care
- Choose a pot 2–4 inches larger in diameter.
- Loosen roots with your fingers before placing in fresh soil.
- Water lightly after repotting to reduce stress.
👨🍳 Step 3: Support Recovery
- Shade the plant for 3–5 days post-repotting.
- Hold off on fertilizing for 2 weeks to avoid overwhelming the plant.
Prevention Tips: ✨ Repot every 1–2 years or when roots exceed the pot size. 🌡️ Use self-watering pots to reduce transplant stress. 🎯 Hardening off seedlings before planting outdoors minimizes shock.
Frequently asked questions about reviving tomato plants
Why do my tomato plants suddenly wilt even when the soil feels moist?
This often signals root stress from overwatering or fungal issues. Check for mushy roots or foul-smelling soil—these mean roots are suffocating. Another clue: wilting that worsens in heat suggests transpiration stress (plants losing water faster than roots can absorb). Try the "finger test"—if the top 2 inches stay damp for days, you're overwatering.
Can I save a tomato plant with brown, crispy leaves but still green stems?
Yes! This is likely heat scorch or leaf burn. Prune the damaged leaves immediately, then move the plant to partial shade. Water deeply at the base in the early morning, and mulch with straw to retain moisture. Most plants recover within 3-5 days once protected from direct sun.
How do I tell if my wilting tomato is from pests or disease?
Look closely: Pests (like aphids or spider mites) leave sticky residue, webbing, or tiny bugs on leaf undersides. Disease (like blight) shows as dark spots with yellow halos or white powdery coatings. For pests, spray with neem oil; for disease, remove infected leaves and apply copper fungicide. Always check stems for galls (nematodes) when repotting.
Will fertilizing help my wilting tomato plant recover faster?
Not immediately—fertilizer can stress already weak plants. First, address the root cause (water, pests, or disease). Once the plant shows new growth (5-7 days later), use a balanced 10-10-10 fertilizer or compost tea. Avoid high-nitrogen mixes if leaves are already yellow (this signals overfeeding).
How long should I wait before repotting a root-bound tomato?
Wait until you see new root growth at the pot’s surface (usually 10-14 days after fixing other issues). Choose a pot just 2-3 inches larger in diameter, and loosen roots gently before replanting. Water lightly after repotting to reduce shock—avoid fertilizing for 2 weeks to let roots establish.