Pruning
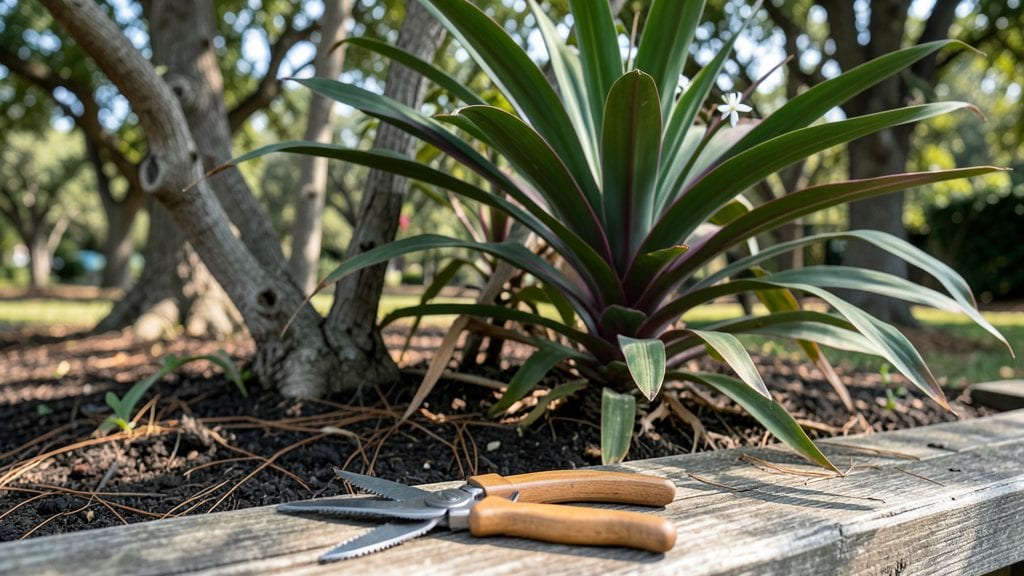
Trimming cordyline plants is the key to keeping them vibrant all year—just three simple cuts will transform them into tropical showstoppers while encouraging fresh, healthy growth. 🌿 The secret isn’t aggressive pruning—it’s strategic timing and clean cuts that prevent stress. plant.
After years of trial and error, I’ve perfected a routine that works whether your Cordyline is indoors or out in the garden.
You’ll need just a few tools: sharp pruning shears, rubbing alcohol for sterilization, and a pair of gloves to protect your hands from the plant’s sap.
The best time to trim is right after flowering or when you spot leggy stems reaching for the light—usually in late winter or early spring. Each cut should be made just above a leaf node at a 45-degree angle to prevent water from pooling and causing rot.
What you’ll end up with is a Cordyline that stays compact, vibrant, and full of energy. The new growth that emerges after trimming is shockingly lush, with deeper reds or greens depending on your variety.
Plus, regular trimming keeps the plant’s shape neat, so it stays the focal point of your garden or patio all season long.
This method works for both mature plants and younger ones, and it’s just as effective in containers as it is in the ground. The key is patience—don’t rush the process, and always step back to check your angles.
You’ll see the difference in just a few weeks, and your Cordyline will thank you with healthier, more dramatic foliage.
📚 In This Guide
- What you need
- Instructions
- Tips and common mistakes
- Wrapping up and next steps
What you need
- ● Sharp pruning shears – Bypass pruners (4-6 inch blades) for clean cuts on stems up to ½ inch thick.
- ● Disinfectant – 70% isopropyl alcohol or rubbing alcohol to sterilize tools between cuts and prevent disease.
- ○ Garden gloves – Heavy-duty, cut-resistant (optional but recommended to protect hands from thorns or sap).
- ● Trash bag or compost bin – For disposing of pruned foliage (check local compost rules—some areas avoid composting diseased plants).
- ● Watering can or hose – To hydrate the plant before and after trimming (especially in dry climates).
- ● Hand pruners or loppers – For thicker stems (over ½ inch) or hard-to-reach branches.
- ● Pruning saw – If your Cordyline has very thick woody stems (rare but possible in mature plants).
- ● Rooting hormone – If you plan to propagate cuttings (great for expanding your plant collection!).
- ● Plant food or fertilizer – A balanced, water-soluble option (like 10-10-10) to nourish the plant post-prune.
- ● Mulch – Organic mulch (e.g., shredded bark) to retain moisture and protect roots after trimming.
Instructions for trimming Cordyline plants
Here's the straightforward approach I use to keep my cordylines lush and thriving year-round.
✂️ Step 1: Identify and Remove Dead or Damaged Foliage
Start by scanning your cordyline for any leaves that look brown, crispy, or mushy—these are dead and need to go. I grab a pair of clean, sharp pruners and make a clean cut about ½ inch above the damaged area. This prevents water from pooling where the leaf meets the stem, which can cause rot.
Don't worry if the cuts look rough—cordylines are tough plants. Focus on removing only what's clearly dead. Healthy leaves should feel firm when you gently squeeze them, while dead ones will crumble or feel hollow inside.
✂️ Step 2: Prune Overgrown or Leggy Growth
If your cordyline has grown too tall or leggy, it's time for a structural trim. I look for the third or fourth leaf node from the top—this is where new growth will emerge. Using your pruners, make a clean cut just above that node at a 45-degree angle.
This angled cut helps water run off instead of sitting on the stem. After trimming, you'll see the plant's natural shape re-emerge, and new growth will sprout from the node below. Avoid cutting into the woody stem—stick to the leafy growth only.
✂️ Step 3: Shape the Plant for Fullness
For a fuller, bushier look, focus on trimming the outer edges of the plant. I like to step back and visualize the shape I want—whether that's a rounded mound or a more formal silhouette. Cut back any stems that are growing outward too aggressively, making sure to leave at least 3-4 leaves per stem.
This step is all about balance. If one side looks sparse, trim a few leaves from the opposite side to even things out. Avoid cutting more than ⅓ of the plant's foliage at once, as this can stress the cordyline. A little shaping goes a long way!
💧 Step 4: Clean Up and Encourage New Growth
After trimming, remove all the cuttings from the area to keep your workspace tidy. I like to compost the healthy green clippings—they make great mulch! For any brown or diseased leaves, dispose of them in the trash to prevent spreading problems.
Give your cordyline a good drink of water after trimming, especially if the weather is hot or dry. New growth will start appearing within 2-4 weeks, so keep an eye out for those fresh, vibrant leaves. This is your reward for a job well done!
Tips & tricks for perfect Cordyline trimming
A few simple tricks can make all the difference in keeping your cordylines healthy and vibrant after trimming. These are the secrets I've picked up after years of working with these resilient plants.
Tool Selection Matters: Using clean, sharp pruners is non-negotiable for cordylines. Dull blades crush stems and create jagged cuts that can invite disease. I keep a dedicated pair just for my plants and clean them with rubbing alcohol between uses. For thicker stems, I switch to bypass pruners—they make cleaner cuts through tougher growth without tearing.
Timing Secret: The best time to trim is in early spring when new growth begins, but cordylines are forgiving year-round. Avoid trimming during extreme heat or cold—these plants handle stress better in moderate temperatures. I've found that morning trims work best because the plants have had overnight water to recover from any potential stress.
Visual Cues for Healthy Growth: When shaping in Step 3, look for the natural growth pattern of your cordyline. The leaves should spiral upward in a consistent pattern—this is their natural shape. Cutting against this pattern can make the plant look unbalanced. I like to step back every few cuts to check the overall silhouette, making small adjustments until it looks full and symmetrical.
Aftercare Strategy: That post-trim watering in Step 4 is crucial, but don't overdo it. Cordylines store water in their stems, so they prefer slightly drier conditions after pruning. I give mine about 1 inch of water per week unless we're in a heatwave, then I increase to 1.5 inches. The new growth will tell you if you're doing it right—healthy leaves should be firm and upright, not wilted or drooping.
Pro Tips for Trimming Cordyline Plants
- A few simple tricks can make all the difference in keeping your cordylines healthy and vibrant after trimming.
- Tool Selection Matters: Using clean, sharp pruners is non-negotiable for cordylines.
- Timing Secret: The best time to trim is in early spring when new growth begins, but cordylines are forgiving year-round.
Frequently asked questions
Got questions about keeping your Cordyline plants looking their best? Here are answers to the most common ones—so you can trim with confidence!
When is the best time to trim Cordyline plants?
The ideal time is late winter or early spring (just before new growth starts) or after flowering (if applicable). For shaping, you can trim lightly anytime, but avoid heavy cuts in summer heat or winter dormancy to prevent stress. Pro tip: If your plant looks leggy, a light trim in early fall can encourage bushier growth before winter.
How much can I cut back without harming the plant?
You can safely remove up to one-third of the plant’s height in a single trim, but avoid cutting into the woody base unless it’s dead or damaged. For rejuvenation cuts, reduce height by 50% but leave at least 6–12 inches of growth. Warning: Over-trimming may shock the plant—always use sharp tools and sterilize cuts to prevent disease.
Can I propagate from trimmings? Yes—but how?
Use healthy stems (3–6 inches long) with at least 2–3 leaf nodes. Let the cuts callus over (1–2 days), then plant in well-draining soil or water (for rooting). Keep humidity high (use a plastic bag) and place in bright, indirect light. Roots should form in 4–8 weeks. Bonus: This is a great way to multiply your collection for free!
Why are my Cordyline leaves turning brown/yellow after trimming?
Brown/yellow leaves usually mean stress from over-trimming, fungal infection, or underwatering. If only a few leaves are affected, remove them to redirect energy. For widespread browning:
- Check for pests (like spider mites) and treat with neem oil.
- Ensure the plant gets bright, indirect light (no harsh sun).
- Water only when the top 1–2 inches of soil are dry.
If the issue persists, your plant may need fertilizer (use a balanced 10-10-10 in spring/summer).
Do Cordylines need different trimming in cold climates?
Yes! In USDA Zones 7–9, protect your plant from freezing temps by trimming after the last frost (late spring) and mulching the base in winter. If your Cordyline is tender (like C. fruticosa), consider wrapping the crown in burlap or moving pots indoors. Key rule: Never trim in winter—wait until temperatures stay above 50°F (10°C) for a week.
Wrapping up and next steps
Trimming your Cordyline plants isn’t just about keeping them tidy—it’s a year-round ritual that ensures their vibrant health and stunning growth! 🌿 With the right tools, timing, and techniques (like the three precision cuts we covered), you’ll transform your space into a lush, thriving oasis. You’ve got this!
Now that you’re armed with expertise, take action: grab those shears, inspect your plants, and give them the care they deserve. Happy pruning—and enjoy the rewards of your green thumb! 🌟