How To
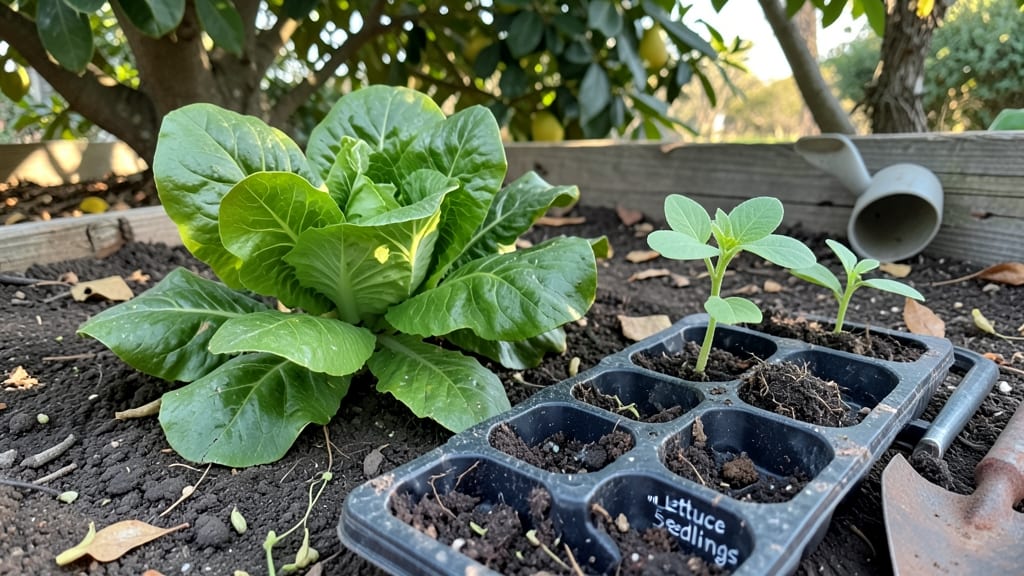
My first veggie planting chart saved me from bolting lettuce and stunted tomatoes—it’s the one tool I use every season to keep my garden productive. 🌱 The chart organizes everything from when to start seeds indoors to which veggies thrive together, so you never plant too early, too late, or with the wrong neighbors.
Instead of guessing, you’ll know exactly when to sow, space, and harvest each plant in your area.
This isn’t just a random list—it’s tailored to your growing season, whether you’re in a short-season zone or a year-round climate. You’ll see clear monthly windows for everything from cool-weather crops like peas to heat-lovers like okra, plus spacing tips to avoid overcrowding.
The best part? It includes companion pairings to naturally deter pests and boost growth, so your carrots and onions actually get along.
By the end, you’ll have a foolproof schedule that turns confusion into confidence. Imagine pulling fresh tomatoes in July or harvesting crisp lettuce in October without the stress of trial and error.
The chart even accounts for regional tweaks, so whether you’re in Zone 5 or Zone 9, you’ll adapt it in minutes. Ready to print it out and start planning?
This isn’t just a tool—it’s your garden’s roadmap. Download the printable version to keep it handy while you’re digging in the dirt, and watch your veggies thrive like never before. No more wasted seeds or missed harvests—just a season of success.
📚 In This Guide
- What you need
- Instructions
- Tips and common mistakes
- Wrapping up and next steps
What you need
- ● Graph paper or large poster board – 1 sheet (11" x 17" or larger) for a detailed chart.
- ● Ruler or measuring tape – 12" or longer for precise spacing.
- ● Pencils (2-3 colors) – For labeling plants, seasons, and companion pairings.
- ● Erasers & sharpener – To keep your chart clean and crisp.
- ● Printed veggie spacing guide – Free online templates or a veggie planting chart from a gardening book.
- ● Stapler or tape – To secure your chart if using multiple sheets.
- ○ Laminator (optional but helpful) – For durability if you plan to reuse the chart yearly.
- ● Colored markers – For vibrant, easy-to-read labels.
- ● Stickers or icons – To represent companion plants (e.g., 🌻 for sunflowers, 🍅 for tomatoes).
- ● Digital tool (e.g., Canva, Google Sheets) – For a customizable, printable veggie planting chart.
- ● Plant tags or labels – To mark real-life garden beds based on your chart.
- ● Notebook for notes – To jot down planting dates, soil conditions, or adjustments.
How to plan your veggie garden using seasonal spacing & companion pairings
This chart-based approach saves time and boosts yields—no more guessing what grows when or where.
📅 Step 1: Map Your Planting Zones and Seasons
First, identify your USDA planting zone (find it with a quick online search) and note your last frost date. I always mark these on a calendar and highlight 4-6 weeks before as my "planting window" for cool-season crops. Warm-season veggies like tomatoes and peppers need to wait until soil reaches 60°F—use a soil thermometer for accuracy.
Divide your growing season into three phases: early spring, late spring/summer, and fall. Each phase has distinct crops that thrive in its temperature range. For example, spinach and peas love 40-50°F soil, while cucumbers and beans prefer 70-80°F. This prevents overwhelm—you'll see how neatly the seasons separate once you organize them visually.
🌱 Step 2: Plot Crops by Maturity Timeline
Group veggies by days to maturity (found on seed packets) and arrange them in rows based on when they'll be ready. Fast growers like radishes (25-30 days) go in early spring, while slower ones like broccoli (60-80 days) get planted later. I draw a simple chart with columns for each month—this ensures you're always harvesting something fresh.
Leave gaps for succession planting. After harvesting early crops like lettuce, replant with faster growers like bush beans. This keeps your garden productive without constant replanting. Pro tip: Use colored pencils to mark each crop family—it helps visualize spacing and companion benefits at a glance.
☀️ Step 3: Assign Companion Pairings to Each Row
Now it's time to get creative with companions. Plant basil near tomatoes to repel pests and improve flavor—this is a classic pairing that actually works. Onion family plants (onions, garlic, leeks) deter carrot flies, so I tuck them between carrot rows. Avoid planting brassicas (like cabbage) near strawberries, as they compete for nutrients and attract similar pests.
Use a companion planting chart as your guide, but trust your garden's layout too. For example, tall sunflowers make great windbreaks for shorter crops like lettuce. Just be mindful of root competition—carrots and onions can stunt each other's growth if planted too close.
⏰ Step 4: Space Crops by Their Growth Habits
Refer to seed packet spacing guidelines, but adjust based on your garden's scale. Root crops like beets need 2-3 inches apart in rows 12 inches apart, while vining plants like cucumbers require 3-4 feet of space per plant unless you're using trellises. I always draw a rough sketch first to visualize how plants will interact as they grow.
Leave walkways between rows for easy access. A 2-foot path gives you room to move without disturbing plants. For raised beds, this spacing also improves airflow, reducing humidity-related diseases. If space is tight, opt for bush varieties of tomatoes or pole beans to save room.
🌿 Step 5: Adjust for Seasonal Overlap and Succession
Plan for crops that can grow together without competing. For example, plant lettuce under tall trellised peas in early spring—the peas provide shade as the lettuce matures. In late summer, replace the lettuce with radishes, which tolerate warmer soil. This layered approach maximizes every inch of your garden.
Keep a small notebook nearby to track what worked and what didn't. Note which pairings thrived, which struggled with pests, and which crops needed more space. Over time, you'll refine your chart into a personalized system that fits your microclimate perfectly.
Tips & tricks for perfect veggie garden planning
Here's how to turn your seasonal chart into a thriving, pest-free garden without the guesswork.
Soil Temperature Tip: That 60°F soil temperature for warm-season crops is non-negotiable. I've ruined multiple pepper plantings by ignoring this—use a soil thermometer for accuracy. For cool-season crops like spinach, wait until soil cools to 50°F or below. Pro tip: Test soil temperature in the morning when it's most stable.
Visual Planning Hack: In Step 2, when plotting your maturity timeline, use different colored pencils for each crop family. I mark greens in blue, root crops in red, and vining plants in green. This color-coding makes it instantly clear which crops can share space and which need separation. It's like having a living color wheel for your garden!
Companion Pairing Shortcut: Don't memorize every possible pairing—focus on these three power combos: basil with tomatoes, onions with carrots, and marigolds (optional but helpful) with almost everything. These pairings solve 80% of common garden problems. I keep a small card in my gardening apron with these essential pairings as a quick reference.
Spacing Rescue Strategy: If your garden feels too crowded after Step 4, prioritize vertical space. Trellises for cucumbers and pole beans can cut their required space in half. For root crops like beets, you can squeeze them into 1.5-inch spacing if you're patient about thinning—just be prepared to harvest some early. The 2-foot walkways are worth protecting though; they make all the difference when you're harvesting.
Pro Tips for Veggie Planting Chart
- Here's how to turn your seasonal chart into a thriving, pest-free garden without the guesswork.
- Soil Temperature Tip: That 60°F soil temperature for warm-season crops is non-negotiable.
- Visual Planning Hack: In Step 2, when plotting your maturity timeline, use different colored pencils for each crop family.
Frequently asked questions
Got questions about maximizing your veggie garden with a veggie planting chart? Here are some of the most common ones—and their answers—to help you grow like a pro!
How do I adjust spacing for container gardening?
Container gardens require tighter spacing than in-ground planting. Check your veggie chart for "container spacing" notes (often 25–50% less than standard). For example, tomatoes may need 12" spacing in pots vs. 18–24" in soil. Pro tip: Use dwarf or bush varieties to save space!
Can I plant everything at once, or do I need to stagger?
Staggering is key for continuous harvests! Your chart will show "succession planting" tips—like sowing lettuce every 2 weeks. Fast growers (radishes, green onions) can go in first, while slow growers (squash, corn) need full sun and warmth. Check last frost dates to time it right.
What if two veggies on my chart say "avoid planting together"?
Companion planting isn’t just about friends—it’s about enemies too! For example, beans (nitrogen-fixers) compete with onions/garlic for nutrients. If you must plant them near each other, use raised beds or separate sections. Try interplanting non-conflicting pairs like basil + tomatoes or carrots + rosemary.
My chart says "cool season," but it’s already hot—what now?
No worries! Cool-season veggies (kale, spinach, peas) can bolt in heat. Try these fixes:
- Shade cloth (30–50%) to lower temps.
- Drip irrigation to keep roots cool.
- Wait and plant in late summer for a fall harvest.
Why are my plants struggling even though I followed the spacing chart?
Spacing is just one piece of the puzzle! Check for:
- Overcrowding (thin seedlings if needed).
- Poor soil (test pH; amend with compost).
- Pests/disease (neem oil or row covers help).
- Water stress (1–1.5" per week, deeper not more frequent).
Wrapping up and next steps
Armed with your veggie planting chart, you’re now ready to transform your garden into a thriving, harmonious ecosystem! 🌱 Whether you’re a seasoned gardener or just starting, remember that success starts with smart spacing and thoughtful pairings.
The right plants not only grow happier but also taste better—so get creative and watch your harvest flourish!
Your next step? Grab your gloves, mark those rows, and plant with confidence! Start small if you’re new, or dive in with bold designs. Happy gardening—your future meals (and neighbors!) will thank you. 🌿