Pruning
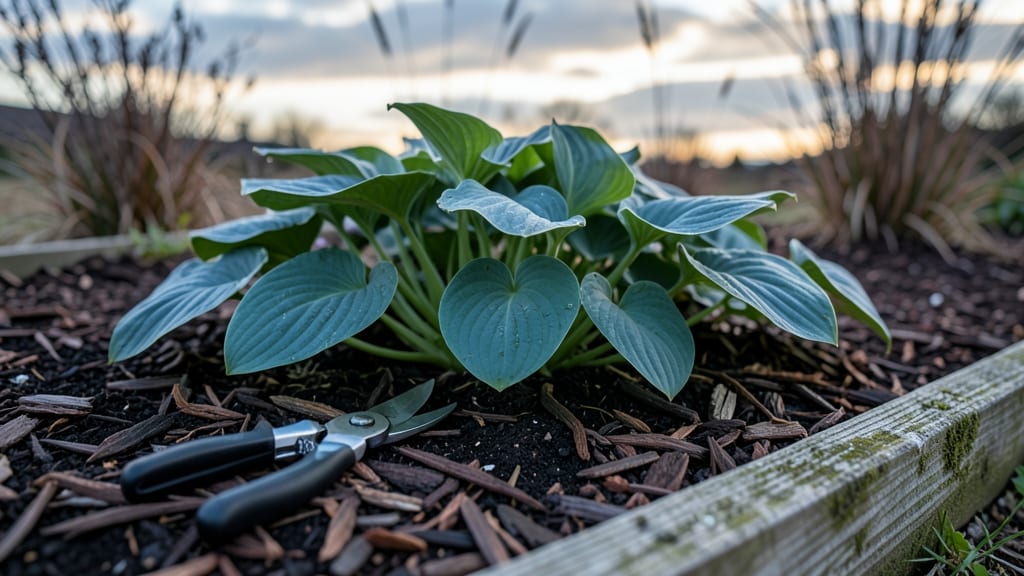
Cutting back hosta plants at the right time protects them from winter damage and sets up a stronger spring 🌿 — and doing it too soon or too late can backfire.
Hostas are the backbone of many shade gardens, but knowing when to cut back their lush foliage can mean the difference between vibrant regrowth and winter damage. Timing matters—do it too early, and you risk exposing roots; too late, and you may invite pests or disease.
In Zone 6, the ideal window is late fall, around October to early November, when foliage turns yellow or brown and the ground begins to cool. This timing gives your hostas time to harden off before winter while removing old growth that could harbor pests.
Below, I’ll walk you through the exact steps, tools, and regional adjustments to ensure your hostas stay healthy and ready to bounce back in spring.
Optimal late fall cutting timeline for hostas: Week-by-Week guide
Hostas thrive in shade gardens but need precise late fall pruning to survive winter. Cutting too early exposes crown rot risks, while waiting too long traps moisture and invites pests or fungal diseases.
The ideal window spans 4-6 weeks before hard frosts, typically October through November, but varies by USDA hardiness zone.
In Zones 3-5, where winters are harsh, aim to finish pruning by mid-October to protect crowns from freezing temperatures. Southern zones (6-9) can wait until late November or even December if milder. Watch for leaf browning and frost warnings—these are your cues to act.
Here’s your week-by-week guide to cutting hostas for winter protection, tailored to regional climates and hosta varieties. Adjust based on your first frost date and local weather patterns.
⚠️ Pro Tip: Never cut hostas in spring—this removes protective foliage and exposes tender new growth to late frosts. Always prune after foliage dies back but before ground freezes.
Use this summary table as your quick-reference guide to determine the best cutting window for your hosta plants and climate zone.
| Week | Zone 3-5 (Cold) | Zone 6-7 (Moderate) | Zone 8-9 (Mild) | Signs to Watch |
|---|---|---|---|---|
| Week 1 (Early Oct) | Begin monitoring foliage | Monitor for browning | Wait for leaf yellowing | 50% leaf browning |
| Week 2 (Mid-Oct) | Cut back 75% browned | Prepare tools | Wait for full browning | Frost warnings |
| Week 3 (Late Oct) | Complete pruning by Oct 31 | Cut back fully browned | Prune after first frost | Ground temps <32°F |
| Week 4 (Early Nov) | Mulch heavily (4-6 inches) | Mulch 2-3 inches | Light mulch (1-2 inches) | Soil moisture levels |
| Week 5 (Mid-Nov) | Remove all debris | Remove debris | Prune if leaf litter remains | Pest activity |
| Week 6 (Late Nov) | Final check for slug eggs | No action needed | Monitor for new growth | Snow cover |
In Zones 3-5, where winters are brutal, prioritize early pruning (by late October) to prevent crown heave from freeze-thaw cycles. Use a sharp bypass pruner to cut foliage 2-3 inches above soil level, leaving no stubble. This height protects the crown buds while allowing snow insulation.
For Zones 6-7,
How to cut back hostas correctly: step-by-step method for winter protection
Cutting back hostas at the right time prepares them for winter dormancy while protecting their crowns from freezing temperatures. The goal is to remove dead foliage without harming the underground rhizomes that store energy for next year’s growth.
I’ve learned the hard way—cutting too early exposes tender roots, while waiting too long risks fungal issues or slug damage.
Before you grab your pruners, gather the right tools: sharp bypass pruners, clean garden shears, and disposable gloves. I always sanitize my tools with rubbing alcohol to prevent spreading disease.
Avoid using hedge trimmers—they can tear foliage and leave jagged edges that invite pests. Timing is everything, so let’s dive into the exact steps.
Step-by-Step Guide to Cutting Back Hostas
- Step 1: Wait until foliage turns brown or after the first hard frost (typically late October–November in most zones). This ensures the plant has entered dormancy.
- Step 2: Use clean pruners to cut 2–3 inches above soil level. This leaves enough insulation for the crown while removing dead growth.
- Step 3: Remove all old foliage but leave healthy stems intact if they’re still green. Diseased leaves should be bagged and discarded, not composted.
- Step 4: Apply a 2–3 inch layer of mulch (straw or shredded leaves) around the base. This protects the crown from freezing temperatures and thaw cycles.
- Step 5: Water lightly before mulching to settle the soil and provide a moist barrier against winter dryness.
One common mistake I see is cutting too close to the soil—this can damage the rhizome and leave it vulnerable to rot. Always leave that 2–3 inch buffer unless your hosta variety naturally grows very close to the ground.
For example, ‘Blue Angel’ hostas have compact growth, so you might trim just 1 inch above soil.
After cutting, I always inspect the crown area for signs of slug eggs or fungal spores. If you spot any, treat with an organic slug bait or copper tape before mulching.
In colder climates (zones 3–5), add an extra layer of mulch or even a lightweight frost blanket for severe winters.
Finally, resist the urge to cut back in early fall—this exposes the plant to late-season pests and temperature fluctuations. If you’re unsure whether your hosta is truly dormant, gently tug on a leaf.
If it resists, wait a few more weeks. Patience here ensures your hostas bounce back vibrant and healthy next spring. 🌿